Email Signature Customization & Installation
Step 1: Customize in Google Docs
First, open the Google Docs link that was sent to you, pertaining to your email signature. Note that not every email signature will have the exact same details as the signature here.

Your template includes two versions of your email signature — one with a space for your headshot and another without.
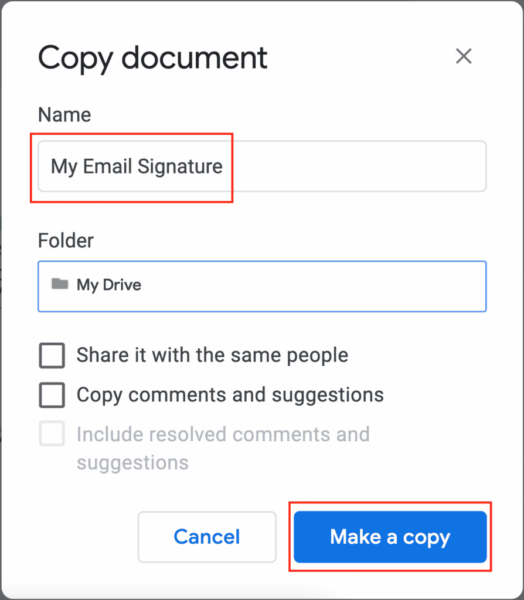
1) Make a copy
First, create your own copy by clicking “File” and selecting “Make a Copy”. Name your new file so you can find it later if needed in your Google Drive, and click the blue “Make a copy” button in the bottom right.
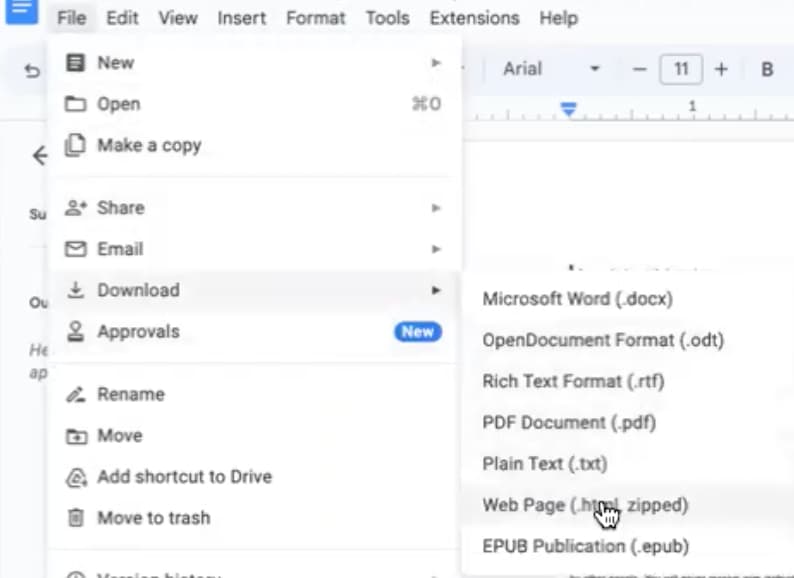
2) Download as Webpage
Next, we’ll need to download the team logo into your files for later so you can properly install the signature. To do this click “File” again and then selecting “Download” and finally “Web Page .html, zipped”. This will then download the zipped file. Within the folder that was created, you’ll see a sub-folder titled “images”, open that and then drag image1.png to your desktop for use when installing your signature.
3) Remove Logo from Document and headshot placeholder if applicable
To ensure proper formatting, you’ll delete the placeholder headshot (if applicable) and the logo from the document and then copy the formatted text from top to bottom.
![]()
Step 2: Install in Gmail
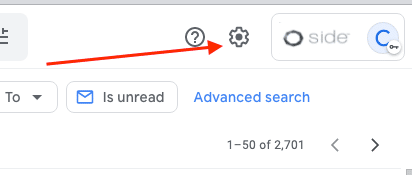
Navigate to your Side-created email inbox (mail.google.com) and click the Gear Icon, to enter the Settings menu:
From there select “All Settings”

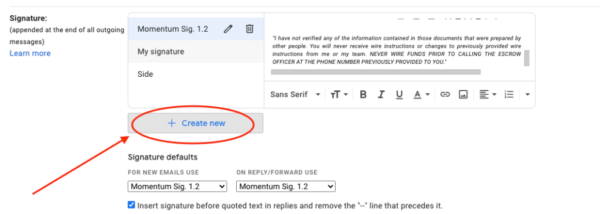
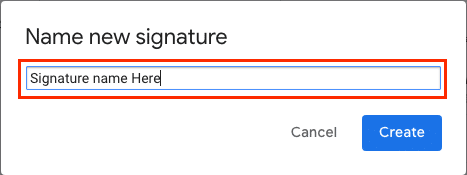
Scroll down to the Signature section and select “Create New” to name your email signature. This name is just visible to you, and is helpful in case you want to create multiple email signatures later on.
Paste the body of the signature from the Google doc to the large, text field (pictured below)
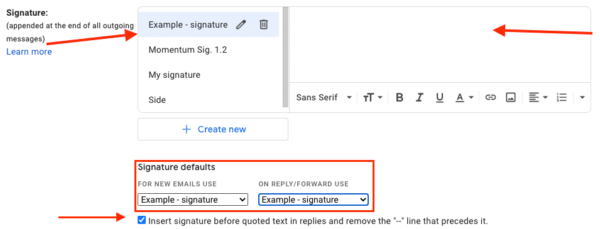
Now we just need to add back in the logo and headshot (if applicable). To do that you just need to click on insert image (pictured below) . Be sure to have the cursor on the area where the image should be inputted into. You’ll need to do this for both headshot and logo.
![]()
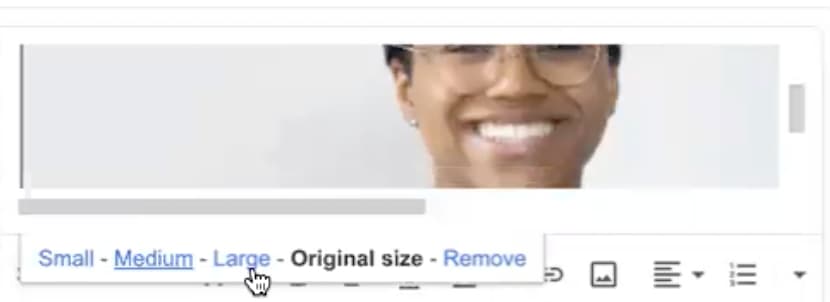
You’ll then click upload and drag the image into where it says “drag a file here”. The image uploaded will appear to large initially. You’ll just need to click on the image and then click the option “small” or “medium” depending on which provides a better fit to the formatting.
Under “Signature defaults” select your signature from the pictured dropdown (pictured above) and make it your default signature. You can choose to have your signature added to new emails you compose as well as emails that you reply to or forward.
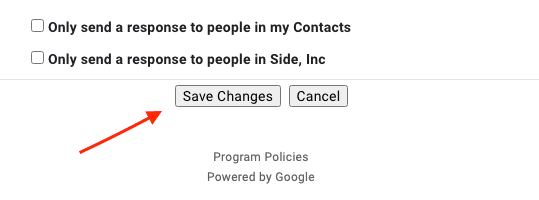
Finally, click “Save Changes” to save your signature.
And that’s it! To verify that your new signature has been successfully saved, go back to your inbox and compose a new message – from here, your new signature should display within your drafted message.